Hello my dear readers, I hope you are having a good week and are looking forward to the weekend. I'm flying off to NYC on Friday for a quick weekend break, before heading to Houston for a week on a work trip. I'm super excited about NYC, not to mention the fabric shopping in the Garment District all day on Saturday (I'm writing a long list, and bringing my big suitcase), and am pretty happy about the work trip - it will be a nice change.
I have something a bit different to share with you today. I made my first ever maxi skirt! It's not just the first maxi skirt that I've made, but also my first maxi skirt altogether. It's not that I don't like maxi skirts, in fact I love the look, but I was never convinced that I could pull it off. Being a petite person I didn't want to be drowned in it, but lately I've decided to be brave, mainly as they look so damn comfy, and I kept seeing them in fashion magazines right, left and centre.
So here is my version:
Although I really like the look of fuller maxi skirts, I didn't think they would suit my small frame. Instead, I opted for a slimmer silhouette, and used a vintage pattern, Butterick 5884, as a base. Marie-I hope I'm making you proud ;)
I was lucky enough to win this pattern from the Sew Grateful giveaway on Gloria & Me, and I am very grateful indeed! Isn't this a beautiful pattern? This is actually the first unprinted vintage pattern that I've worked with - in fact, I had no idea they even existed until I saw them on the Great British Sewing Bee, so you can imagine my excitement when I laid my hands on this little beauty!
Here's the instructions to de-code to the secret language, and they were very helpful!
As you may have worked out by yourself based on the above, the skirt is cut on the bias. The main alteration I made was to lengthen the skirt by 8 inches or so, to make it a maxi length.
I'm sitting in front of a 13th century bridge, 5 mins walk from my house. Doesn't it look incredible for its age? This was the starting point of a beautiful riverside walk, and I love taking a stroll there on a sunny day, even if I felt a bit overdressed for it!
And this is the Common Meadow that follows:

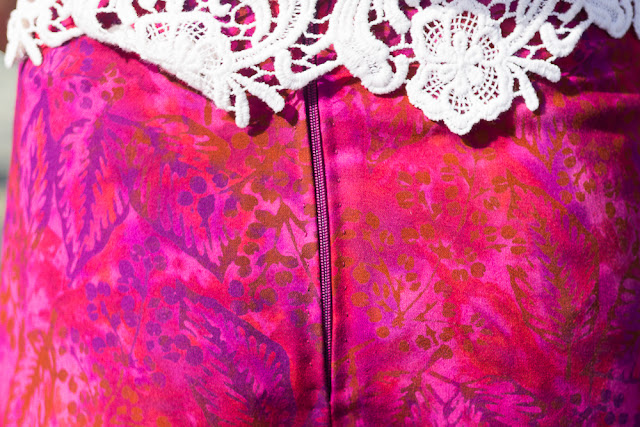
What's the fabric, I hear you ask? You may remember the little tale that I told you last week in the Jamie shift dress post, and this is indeed the matching blue viscose that was the other side of the equation. It is even more drapy when cut on the bias, and not to mention really comfortable to wear.
I even made French seams on the inside for the delicate fabric, and I love how neat it looks on the inside. The other good news is that I finally feel happy with working with viscose, after some puckering issues in the past. To sum it all up, I think the tricks are:
- Use a smaller needle - I used a size 70 this time, but switched to a 90 (normal) when sewing more than 2 layers of fabric together.
- Larger stitches - I increased the stitch length to between 3 and 4 on my machine
- Very loose tension - I turned the dial down to almost 1, and I suspect this was the main reason behind the puckering issues previously as I only used to turn this down to around the 3 mark, as my machine manual suggested. But this time I thought, what's the point of having the scale all the way down to 1 if I wasn't going to use it? and it worked!
With the beautiful drapiness there came problems, though, and for this, I need your help!
Can you see the bunching around the zip on the left side seam (right on the photo)? And here's a close up from the side:
And from the front:
Not attractive. The worst part is, I saw this whole thing coming. The fabric is quite a thin one, and as the pieces were cut on the bias, it stretches out of shape easily. So before I inserted the lapped zipper, I strengthened the seams with some grosgrain ribbon to prevent this... and it hasn't worked, even after unpicking and re-attaching the zip 4 times :(
So, any help you could offer either to help me fix it or prevent it from happening again would be very much appreciated!
Despite the issue, I am pleased with how the maxi skirt has turned out, and teamed with a cropped top (the top I'm wearing is not actually a cropped one, I just tied it at the front for the effect), I don't think it shrunk me any more than my "normal" clothes... I think I will be able to look past the bunching issue, and wear this skirt again. At the end of the day, who stares at your hip when you walk past anyway?
That's all for now folks, and as always, it would be great to hear from you!


